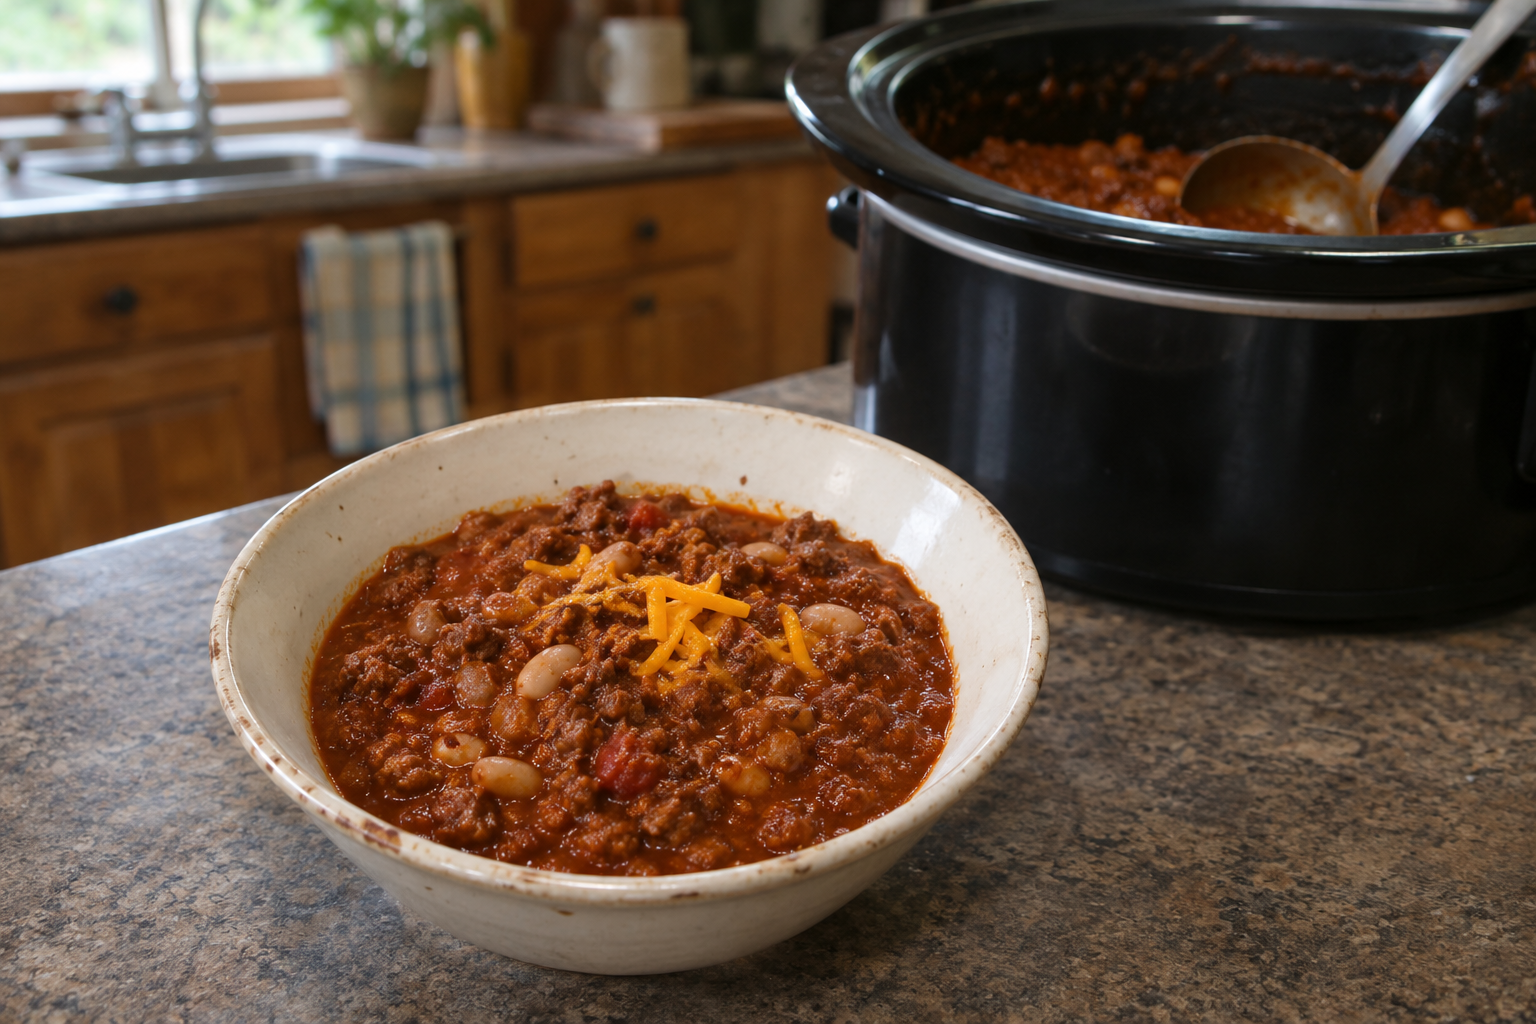
As the weather cools and the leaves begin to change, I start thinking about a pot of fall beef and bean chili. Football season gives me another reason to make it, but a cool fall evening is reason enough on its own. There are still tomatoes and jalapeños in the garden, and with frost coming, I want to put them to good use. Bringing some of that last harvest into the kitchen makes a warm dinner even more satisfying.
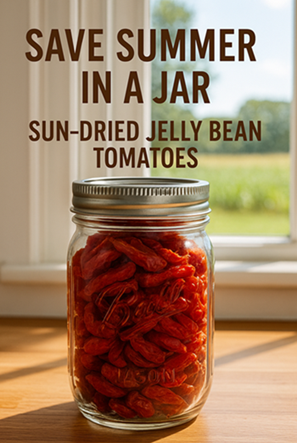
Some of what I enjoy adding has already been put away. My sun-dried “Jellybean” grape tomatoes are a favorite. They’re like little versions of sweet candy, and I like letting them soften right in the chili as it simmers. Their sweetness helps balance the tartness of the tomatoes already in the pot.
That’s a satisfying part of preserving food: getting to cook with it. You spend time growing something, decide what to save, and eventually reach for it because it will make dinner taste good. With those little tomatoes, I know just where I want them to go.
You may be at a different point with your own harvest. Perhaps you dried a few tomatoes this summer and haven’t quite decided what to do with them, or perhaps you have shelves of ingredients and could use a few fresh ideas. Let me walk you through how my chili comes together. It’s a familiar meal with plenty of room for an ingredient you saved—and it’s just as welcoming if everything in your pot comes from the grocery store.
How I Build My Fall Beef and Bean Chili
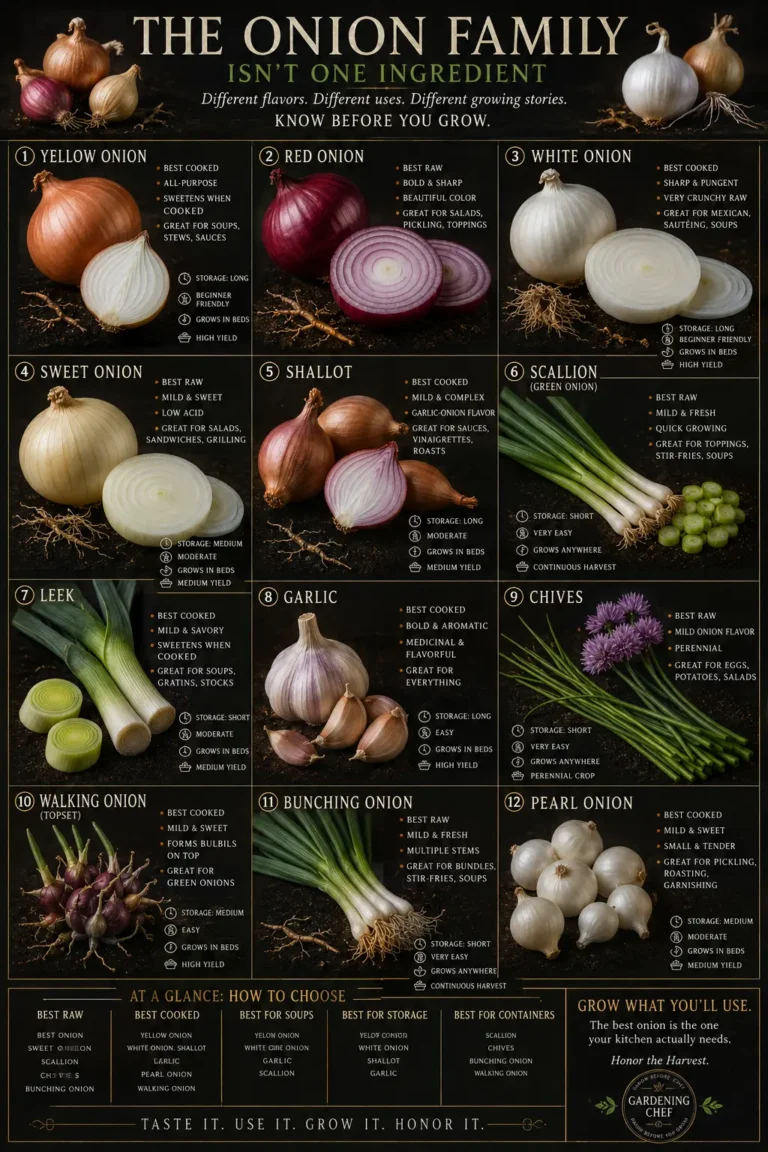
I usually start with 80/20 ground beef and cook it slowly enough to render the fat. I remove the excess, but leave a little in the pot for the onions. They can take their time sweating in that fat before I add the garlic, followed by the tomatoes and spices.
Those onions are one reason I don’t hurry straight to putting everything in together. I want them softened before the rest of the chili goes in. Once the garlic, tomatoes, and seasonings have joined them, I can settle into the simmer and work toward the thickness and flavor I like.
Cumin, chili powder, cayenne, and a splash of Worcestershire sauce are part of that flavor. I often use a basic recipe to get a sense of the proportions, then refine the pot as it cooks. How much adjusting it needs depends on what I’ve put into it, especially the beans.
Northern beans are a regular choice for me, and I generally use canned ones. Sometimes, though, a chili-bean variety from Bush’s or another brand catches my interest, or I use black beans for a different twist. If the beans are plain, I usually rinse them. If they’re packed in chili sauce, the whole can goes in, because I want that sauce to become part of the chili.
That choice changes where I begin with the seasoning. A pot made with plain beans needs something different from one that already has chili sauce stirred into it. Rather than trying to make both taste the same from the start, I let the mixture simmer and thicken before deciding what else it needs.
Where the Saved Harvest Comes In
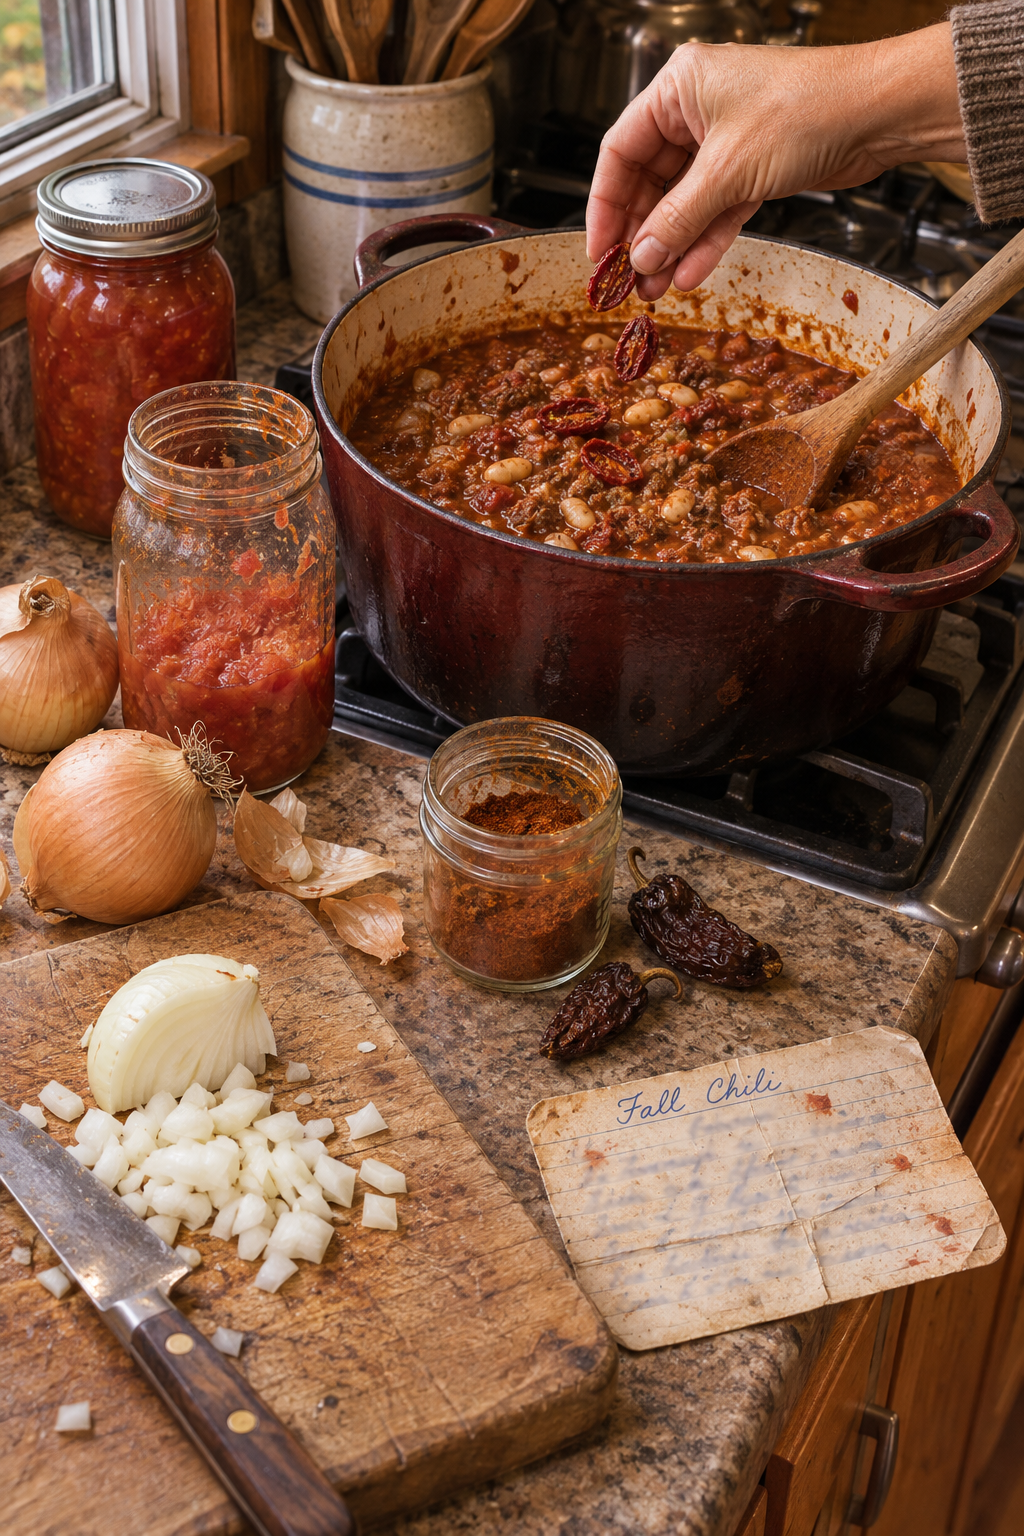
I stir in the dried tomatoes once the chili is simmering. I add them whole or slightly chopped, depending on how much texture I want, and let the liquid in the chili soften them. Whole pieces leave more to bite into; chopped pieces spread through the pot.
There are two things happening while they cook: the tomatoes are taking up moisture, and the uncovered chili is losing some through evaporation. If the pot gets thick before the tomatoes are tender, add a little water and give them more time. Their size and how they were dried will affect how quickly they soften, so tenderness is more useful here than a fixed number of minutes.[1]
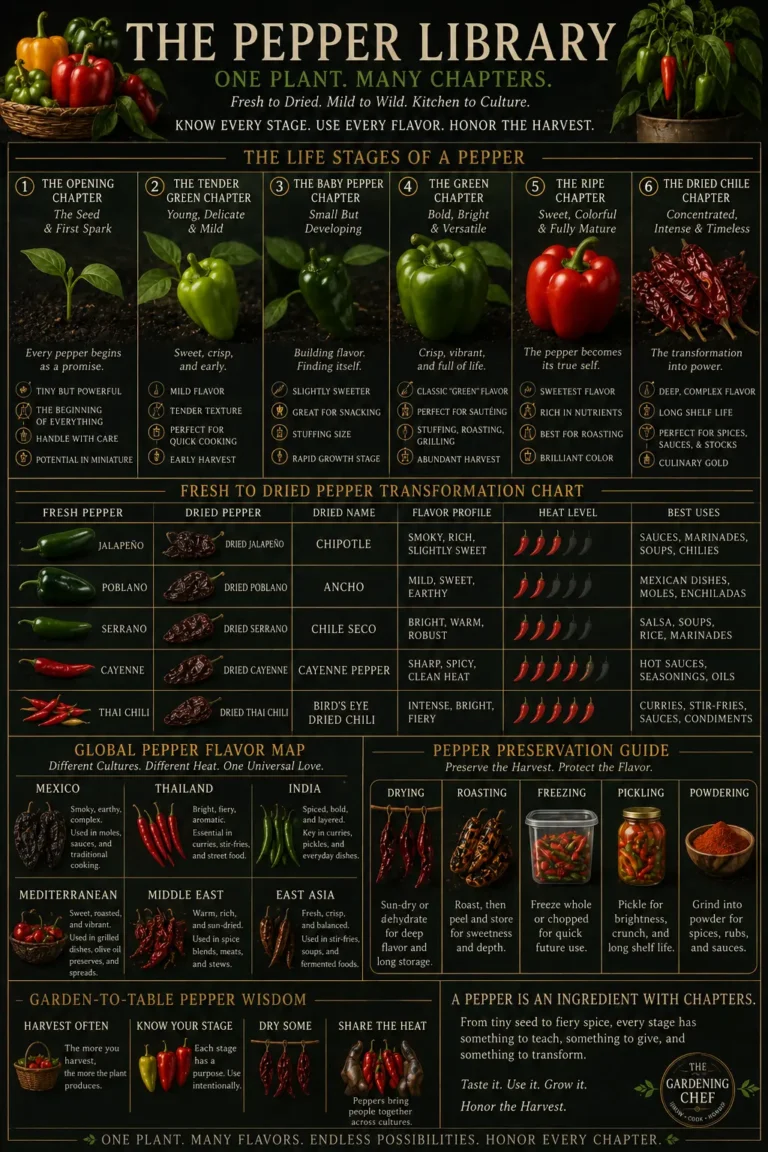
The jalapeños give me another way to use what I saved. Last year, I had green and red peppers left over, so I gave them a cold hickory smoke, dried them, and ground them for chili. Alongside the sweetness of the dried tomatoes, those peppers give me a smoky flavor to work with.
I also like ground smoked peppers or thinly sliced fresh jalapeños as a garnish. Putting them out separately lets someone add a little more smoke or heat to their own bowl without changing the whole pot.
These are the details that make this fall beef and bean chili feel connected to my garden. The tomatoes and peppers each contribute something I enjoy, which gives me a reason to reach for them again. When I’m thinking about what to preserve next year, that’s useful to remember.
Start With the Dinner You Want
If you’re looking at your own saved ingredients and wondering where to begin, start with something you like eating. A few dried tomatoes might belong in chili or a sauce. A small bag of dehydrated potatoes might suggest potato soup, prepared according to their directions. Frozen lemon or lime zest could lead you toward roasted vegetables or an herb butter.
The meal gives you a reason to open the container. Once you’ve chosen it, you can work out where the saved ingredient belongs and buy whatever else you need. You don’t need a pantry full of homegrown food to make that connection.
For this fall beef and bean chili, the grocery-store starting point is straightforward: ground beef, an onion, garlic, canned tomatoes, canned beans, and seasonings. You can make a good pot with those ingredients and try dried tomatoes another time. If you want to explore them now, purchased dry-packed tomatoes will work in the version below, and a little commercially prepared ground chipotle offers an accessible way to try a smoky pepper flavor.
If you’re using your own preserved food, follow the preparation and storage directions that apply to it. Our Preservation Pantry guide covers putting the harvest away; this is where that work becomes part of dinner.
I’ve included a measured starting point below so you can follow the same general sequence. As it simmers, pay attention to the beans you chose, how much liquid your tomatoes brought to the pot, and how the flavor comes together. Those are the things I’m considering when I make my own adjustments.
Fall Beef and Bean Chili Recipe
Fall Chili with a Hint of Smokiness
Ingredients
Method
- Put the beef in a heavy pot over medium heat. Break it apart and cook steadily, stirring as the fat renders. Transfer the cooked beef to a bowl. Spoon off excess fat, leaving about 1 tablespoon in the pot.
- Reduce the heat to medium-low. Add the onion and cook gently, stirring, until softened, approximately 6–8 minutes. Add the garlic and stir for about 30 seconds, until fragrant.
- Return the beef. Add the crushed tomatoes, chili powder blend, cumin, Worcestershire sauce, optional cayenne, and ½ cup water. Stir well. Add the drained beans and optional dried tomatoes.
- Bring to a simmer, then maintain a gentle simmer, uncovered, stirring regularly. Begin checking after 30 minutes; allow longer as needed for the dried tomatoes to soften and the chili to reach the thickness you like. Add water a little at a time if it gets too thick or begins sticking.
- Confirm the chili has reached at least 160°F (71°C) throughout, using a food thermometer, before tasting. That is the safe minimum for ground beef. Taste a spoonful after allowing it to cool enough to assess comfortably. Adjust salt, pepper, cumin, chili seasoning, or Worcestershire in small additions. Add optional chipotle cautiously and stir it through before tasting again.
- Offer sliced jalapeño, ground smoked pepper, or cilantro separately.
Notes
Choose Your Variation
| What you have | How to use it in this pot |
|---|---|
| Plain canned northern or black beans | Use the same can size; drain and rinse. |
| Canned beans in chili sauce | Include the sauce. Hold back the initial added water and some chili seasoning, then adjust after simmering. |
| Dried beans you grew or bought | Cook them fully in a separate preparation first, following reliable directions for that bean. Add cooked, drained beans; dry beans are not a direct replacement for canned beans. |
| Properly preserved frozen or home-canned tomatoes | Use roughly the same prepared tomato weight as the crushed tomatoes. Retain useful juices and adjust the simmer and added water for their consistency. Follow safe handling directions for the preserved product. |
| Fresh ripe tomatoes | A trial option is about 1¾ pounds (800 g), cored and chopped. Expect a different texture and potentially more reduction time. This substitution is for the cooked meal, not for a canning process. |
| No beans | Omit them, begin with less added water, and expect fewer servings. Simmer to the desired consistency. |
| No dried tomatoes or smoked peppers | Make the base recipe as written without the optional additions. |
Make This Fall Beef and Bean Chili Ahead
Feel free to make a pot ahead of time or keep it warm for friends to help themselves. For a party, use equipment that holds the chili at 140°F (60°C) or above so it stays hot through those second helpings, and bring out the perishable toppings in small batches.[2]
If you’re saving some for another meal, tuck it into shallow containers and refrigerate within two hours—or one hour if it’s over 90°F (32°C) outside. Enjoy it within three to four days, or freeze a few portions for another cool evening. When you warm it up again, bring it to 165°F (74°C).[2]
For putting chili up in jars, turn to a separate tested canning recipe and follow its full directions.
What This Batch Can Tell You About Next Year
Once you’ve eaten, you’ll have a better idea of which additions were worth making. Perhaps the dried tomatoes were the part you especially enjoyed, or perhaps you liked the beans in chili sauce enough to use them again. A few notes about those choices will help when you make the next batch.
Write down the kind of beans, the form of tomatoes, and any seasoning changes you want to remember. If a dried ingredient needed more liquid or a longer simmer, include that too. You’re keeping the details that explain how this particular pot turned out.
Over time, those notes can help with the garden as well. If you keep wishing you had more dried tomatoes, you might consider growing one tomato plant suited to your space and saving some of its harvest.
You might discover that onions and garlic are what you reach for most often, or that the herbs you enjoy cooking with deserve a little room near the kitchen.
For me, the dried “Jellybean” tomatoes are something I want to keep using. I enjoy their sweetness in this fall beef and bean chili, and knowing how I’ll cook with them gives purpose to saving them in the first place. That’s a connection you can make with one ingredient, whether you grew it yourself or brought it home from the store.
What have you saved that you’d like to cook with? I’d love to hear what you have and what you’re thinking of making.
For more ways to bring your garden into the kitchen, join The Gardening Chef Weekly.